How to Install Nginx on Ubuntu 22.04
In this guide, we will walk you through how to install Nginx on Ubuntu 22.04, enabling you to set up a powerful web server for your applications and websites.
Nginx is an open-source web server that serves as a reverse proxy, load balancer, and HTTP cache. It's known for its high performance, stability, rich feature sets, and low resource consumption. This article explains how to install the Nginx web server on Ubuntu 22.04.
Prerequisites
- Launch the Ubuntu 22.04 instance on Rackbank.
- Create a new Domain or subdomain A record that points to your server's IP address.
- Access the server using SSH.
Let’s follow the steps for a complete Nginx installation and basic configuration on Ubuntu 22.04.
Update the System
First, ensure your package list is up to date to avoid any issues with outdated packages. Run the following commands:
sudo apt-get update -y
sudo apt-get upgrade -y

Install Nginx
Use the apt command to install the Nginx service:
sudo apt-get install nginx -y

Start and Enable Nginx
Once Nginx is installed, start the Nginx service:
sudo systemctl start nginx
 Enable it to start automatically when the system reboots:
sudo systemctl enable nginx
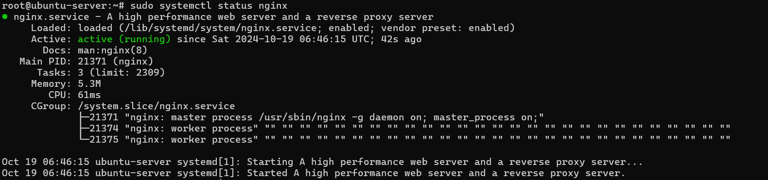
Check the Status
Ensure Nginx is running smoothly by checking its status:
sudo systemctl status nginx
Check Nginx Default Port
To verify that Nginx is running on its default port (80), execute the following command:
sudo ss -antpl | grep nginx
Adjusting The Firewall
To configure UFW to allow Nginx connections, it’s important to balance security and traffic requirements. You must allow HTTP traffic if your server isn’t set up with SSL. To do this, enable connections on the HTTP port:
sudo ufw allow 'Nginx HTTP'
sudo ufw enable
sudo ufw status

Test Nginx
To verify your Nginx installation, navigate to the following URL in your web browser. Replace your-server-ip with your actual server IP address:

If the installation is successful, you will be greeted by the Nginx test page.
You should see the default Nginx welcome page.